Did you know that there may be as many as 119,186 colony-forming units of bacteria on your earbuds? That’s right, your earbuds are regularly exposed to bacteria from being carried on your regular travels. That means they can get very dirty and need to be cleaned regularly to avoid problems, like ear infections. So how to sanitize earbuds properly and what are some best practices to keep your earbuds clean? I’ll explore in today’s article.
Why They’re Dirty
One of the reasons why your earbuds get so much bacteria on them is from your earwax building on them. Leaving them lying around unsanitary places makes it all the worse. Since they’re so compact, it’s easy to leave them somewhere then put them straight back in your ears without considering the bacteria you might be introducing into your ears.
It’s best to clean your earbuds after each and every wear but if you don’t think you will keep up with that kind of schedule, doing it once a week should be enough. Of course, if your earbuds have been sitting anywhere especially dirty, you will want to disinfect them immediately before they come anywhere near your ears.
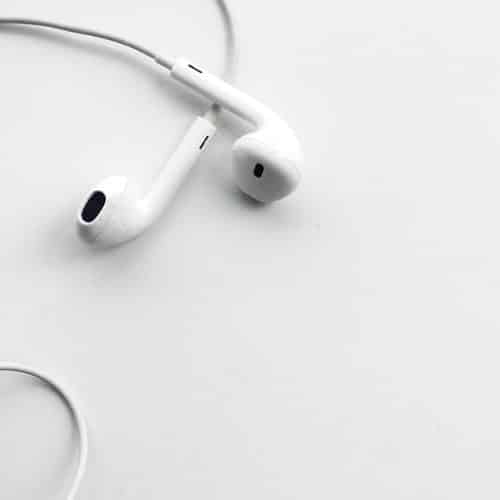
So let’s dive in and explore the best way to sanitize your earbuds, as well as tips to keep your earbuds clean to prevent any issues.
How to Clean & Sanitize Your Earbuds (best methods)
Use a Wipe
Cleaning your earbuds can be as simple as wiping them with a cleaning wipe. Make sure the wipe has alcohol so any bacteria will be killed to fully sanitize your earbuds. If there is any debris in the holes, like earwax, you should be able to get it out with a toothpick covered in an alcohol wipe. That helps disinfect every part of the earbud. It also protects your earbuds from damage from the toothpick.
After you have cleaned your earbuds, give them time to dry. It usually takes about one minute for the alcohol to dry up.
Use a Tool and Small Soft Brush
Using a small soft brush to get rid of the debris on the inside of your earbuds. To begin the process, remove the tips from the earbuds. If you have a special tool with a metal loop, this side is perfect to pull the wax out of the earbuds. You can then use the small soft brush to remove anything else on the earbuds. Use a wet cloth with warm soapy water to wipe things over, and then put the tips back on the earbuds.
Remember to Clean Your Earbuds After Workouts
It’s especially important to clean your earbuds after you exercise. Never store earbuds in places that don’t have water-resistant cases. That protects your equipment from damage.
Don’t Damage Your Earbuds!
Most earbuds aren’t waterproof or even water-resistant. Make sure no liquid gets into the electronics. Only use wet cleaning on the detachable tips. Also, if you use anything sharp, like a toothpick, when cleaning your earbuds, cover the tip of it with a wet wipe cloth. This will help with disinfection and protect your equipment from the sharp surface.
What About Headphones?
It’s not just earbuds that need to be cleaned. If you headphones regularly, clean those, as well. It’s the earpads of your headphones that collect dirt and come in contact with your face and ears. You should clean your headphones’ earpads at least once weekly.
Before you clean them:
- Turn off the headphones and disconnect them from your device or whatever they’re plugged into.
- Wipe them down with warm, soapy water on a slightly damp washcloth.
- Ensure that you clean off every part of the pads and tips.
- If you wear your headphones while working out, make sure to clean them after every exercise.
What About In-Ear Earphones
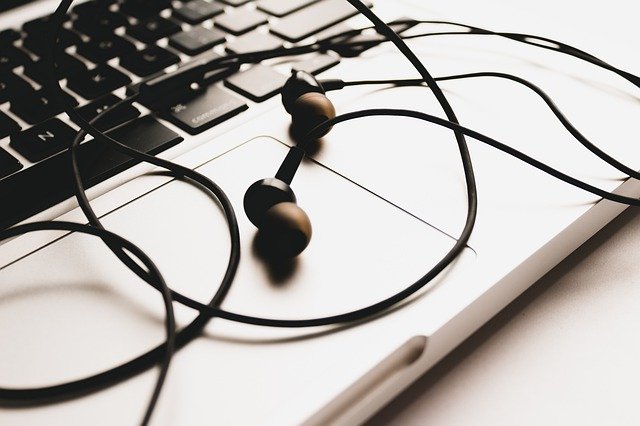
As in-ear earphones actually go inside your ear canal, it’s even more important to sanitize them often than regular earbuds. This is especially true with in-ear earphones that go deeper into the ear canal. Make sure that you read the instructions that come with your in-ear earphones when cleaning them.
You will need specific supplies in order to properly and safely clean your in-ear earphones. These include:
- Rubbing alcohol or isopropyl. It should be a minimum 70% alcohol concentration
- A clean cloth or paper towel
- One wooden toothpick
- You may also want an adhesive, such as Blu-Tack
- Soap and warm water (if you have silicone tips)
Remove the Tips & Covers First
Remove the silicone tips from your in-ear earphones and clean each of them with soap and warm water. You must do this gently, or you might rip the silicone. Once you have done the cleaning, put them in a safe place where they can air dry.
Foam covers should also be removed and cleaned with soap and warm water. If you prefer, you can take the easier route and simply put a bit of isopropyl alcohol on the foam and allow it to evaporate.
The following steps will work for cleaning most types of in-ear earphones.
- Use a soft cloth, slightly damp cloth, to wipe over all of the drivers. Get rid of all dirt, wax, or grime.
- Use a wooden toothpick to gently take out any dirt or wax from the speaker mesh. It’s essential that you’re extremely gentle when you do this, or you could ruin the mesh.
- Use rubbing alcohol to dampen a clean cloth or paper towel. Use this to clean all over the driver. Carefully clean sensors, such as ear-detection sensors.
- Clean the speaker mesh with a Q-tip that has been dipped in rubbing alcohol.
- Put a bit of rubbing alcohol on a clean cloth or paper towel, and use this to wipe over the rubber grip beside the jack, the in-line remotes, and cables.
- Give everything time to dry (the alcohol will evaporate) before you do anything with the earphones, such as putting them in their case or using them.
Always remember: Keep your earbuds, in-ear earphones, and headphones clean!

