Have you recently purchased a new PS4 and are you wondering how to use headphones with it? In this article, we will go over everything you need to know about how to use headphones with PS4. We will talk about using both wireless and wired headphones.
It’s the compatibility issues with the PS4 that can make it a bit tricky to use certain kinds of headphones. Depending on the kind of headphones you have, you may have to use third-party devices or other kinds of modifications, but you should be able to use them with your console.
If your headphones have a 3.5 mm audio jack, you should be able to plug them into the PS4. Depending on the specific model you have, you might have to change the settings. If you have wired headphones that aren’t compatible, then a converter should make them able to work on the PS4.
Connection of Compatible Headphones
- After you have turned on the PS4, use your controller to go to Settings.
- Scroll down to find the Devices option. Select it.
- When you get to the Devices page, you will read a list of all the devices you are able to connect to the PS4. Choose Audio Devices, as you want to connect your headphones.
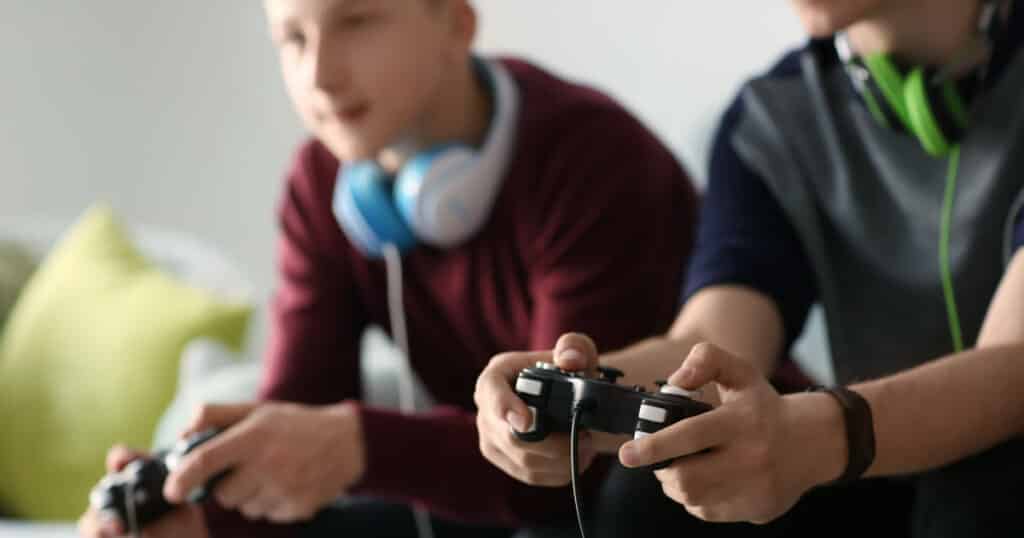
- Connect your wired headphones to the PS4 controller by plugging them in.
- Choose Output Device. After you have done this, choose Headset Connected to Controller.
- You now need to correctly set up your headset mic and test it. Navigate back to the Audio Devices page and choose Adjust Microphone Level. Use the slider to adjust the level of microphone input.
- It is possible to stop here if you don’t mind voice chat audio coming through your headphones at the same time that the game audio comes through the speakers of your TV. If you don’t want this to happen, however, and would prefer to have all audio come through your headphones, you will have to proceed with the following step.
- Navigate back to the Audio Devices Page. Choose Output to Headphones. After that, choose All Audio.
Connection of Non-Compatible Wired Headphones
Most smartphone headphones follow one of two well-known standards or arrangements. These are the Open Mobile Terminal Platform (OMTP) and the Cellular Telecommunications and Internet Association (CTIA). Note that the CTIA is sometimes referred to as the American Headset Jack (AHJ) standard.
The main distinction between the OMTP and CTIA standards is that the CTIA situated the microphone connector point at the jack’s base. The ground connector is found on the 2nd ring. With the OMTP, these two positions are the opposite.
If you try to use a CTIA headset with a device that has an OMTP port (or vice versa), you will find that the compatibility problems lead to too quiet audio. The PS4 (and newer models of smartphone) use the CTIA standard. If you would like to use OMTP headphones with your PS4, you will need a converter. This converter is called an OMTP to CTIA converter/adapter.
To do this set up with the converter, go through the following steps:
- Follow the steps in the previous section (on how to connect compatible wired headphones) up to step 4.
- When you get to step 4, connect your headset to the OMTP to CTIA converter. After that, plug the converter into the PS4 controller.
- Go through the remainder of the steps.
What if You Want to Connect Wireless Headphones to Your PS4
There are a variety of methods to use wireless headphones with your PS4. Be aware, though, that the model of Bluetooth headphones you have might be incompatible with how Sony does Bluetooth connections. This method generally focuses on wireless headphones that are specifically branded as PS4-compatible. If you find that this is your situation, you will be pleased to know that there are still tips you can try to use your non-compatible headphones with PS4.
First let’s talk about how to use headphones that are specifically labelled as being compatible with PS4. If you haven’t yet bought your headphones and want to find out which ones are compatible, check out the list of compatible headsets for PlayStation that Sony provides.
Below are the steps for connecting PS4-compatible wireless headphones:
- Ensure that you have used the USB cable that came with your headphones to charge them up. You can also use the cable that came with the PS4 system.
- Attach the USB adapter for your headset to the PS4 or console’s USB port.
- After you have tuned on the headphones, activate pairing mode. After the blue light has stopped flashing and there is just a solid blue, you will know that your headphones should be properly connected and ready to play audio.
- If you’re still having difficulty getting your headphones connected (in other words, if you still cannot hear audio through them), move forward with the following steps.
- Use the controller to go to Settings.
- Use the scrolling function and choose Devices.
- When you get to the Devices page, look at the list of devices that you are able to connect to the PS4. Choose Bluetooth Devices.
- After you ensure that the headset remains in pairing mode (it should still have the flashing blue light), wait for the PS4 to do its search for Bluetooth devices nearby.
- You should soon see the headphones come up on the Bluetooth devices list. Select it and give it a moment to connect.
- It’s possible that you will have to register the device before the connection can be completed.
If you do not have a headset that is compatible with PS4, there are steps that you can try to get them connected. If you have already purchased your headphones and haven’t been able to get them to hook up to your PS4, don’t give up hope yet. There is still a strong chance that you can use them.