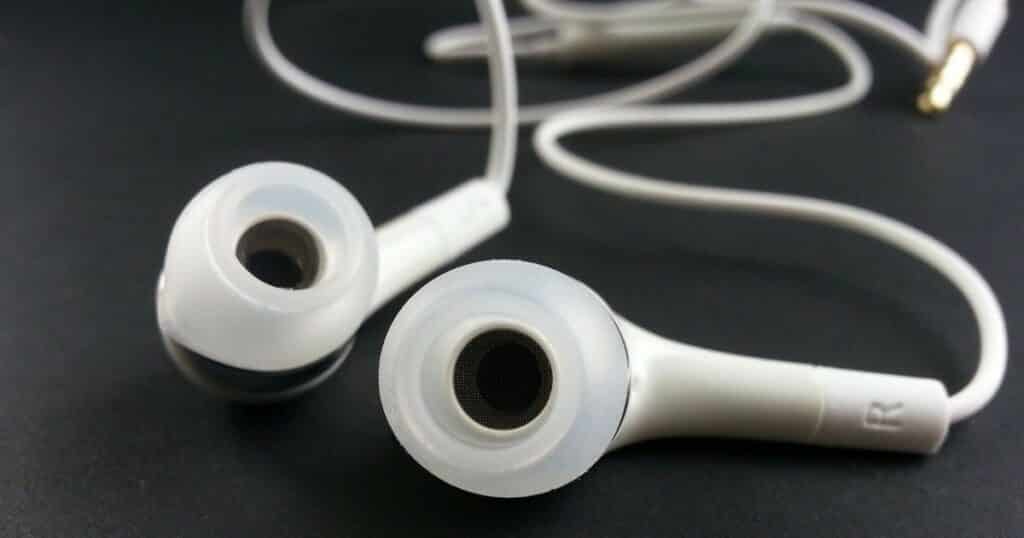
Nothing is more annoying than the wires of your headphones getting all tangled up. When the wires are damaged, we automatically believe it’s time for a new pair of headphones. Despite how careful you might be, accidents can happen, and your earphones can break. We treat wire headphones as though they are disposable, but that doesn’t have to be the case. Sometimes you can fix your headphone wires using tape or other simple means.
Learning to fix broken headphones is an easy yet very impressive skill to acquire. In this article, we go over how to fix your headphone wires with tape. If you have the necessary tools, you can get your headphones working in less than 30 minutes! You’ll be able to rejuvenate your old headphones with ripped, frayed, or torn headphone cables.
What wires are in my headphones?
Typically, headphones and audio cables have three to four wires running through them. When you open up your headphone cables, you will find:
- A red wire
- A blue/green wire
- A bare/copper wire
The red wire is the right channel, the blue or green wire is the left channel, and the bare or copper wire is the ground. Although these colors can differ slightly, the right channel is almost always red, while the ground stays copper or bare.
How to fix headphone wires with tape (step by step)
To begin fixing your headphone wires using tape, you will need:
- A safe adhesive plastic insulating tape
- Screwdriver
- Solder
- Wire cutters
- Craft knife
- Soldering iron
Troubleshooting the problem
The first thing you need to do when fixing your headphones is to identify the problem. This will help you know how you are supposed to begin remedying the problem.
To identify the problem, you need to:
- Check if one side of the earpiece does not work – this most likely means that the wire is disconnected or broken
- Find out if the headphones stopped working due to loose attachment in the earpiece
- Listen to see if they are crackly or stuttering as this means the headphones connection is not entirely broken
- Observe if both sides are dead as this will require a total repair
The most typical problem you might find is that the wire inside the plug or lead is disconnected.
Fixing Headphone Wires with Tape
There are three steps for fixing your headphone wires with tape:
Replace the Plug
Some headphones have a molded plug. In such a case, the plug and the lead are held together by a plastic piece. If the wire breaks while in the molded plug, you can cut the plug using your scissors or wire cutter.
It would be best if you made this cut right where the plug and lead meet. Purchase a new plug and attach it to the lead. The new plug you purchase should be the same make as the old plug. Next, you strip the insulation over the lead and solder the new plug to the wires.
It is not a constant that mold is present around the plug. If there is no mold, unscrew the plug using a screwdriver, and you can reach the wires inside the lead. You might have more than one disconnected wire that you need to solder back when you do this.
Reattach the Wires
It is pretty simple to take headphones apart. At times you might not be able to pull the tiny screws, or the padding pulls off. If this happens, you need to use a screwdriver to take off the screws. Once you do this successfully, you might find one or more disconnected wires that need reattachment.
Solder Any Broken Wires Together
If the broken part of the wire is lodged in the lead, it might be a bit difficult to track. You rarely find the kink or damage immediately. At this point, you need to be careful when cutting the insulation, find the broken wire, and solder them back together.
It will help if you let a special molten metal alloy melt using a soldering iron to ensure that the wires stick at the connections. The molten metal alloy can also be used in the case of joining broken wires. Begin by carefully cutting the insulation at the end of the wire. Before you start to solder, make use of a wire cutter to reveal the bare metal. It might be a bit difficult for you to find a soldering iron, but you could check local repair shops or electronics shops.
After soldering, you need to make use of an insulating tape to wrap the joint. Making use of insulating tape at each joint is important because it holds and protects the wires. Finish off with more insulating tape wrapped around the lead to prevent any further damages.
Finally, you should know that often, there is no plastic insulation around the wire. These types of wires usually have colored varnish insulation instead of metal. To solder it, use the soldering iron to heat the wire’s end and keep it heated until the colored varnish is burned off. After you do this, continue the procedure as normal, and don’t forget to tape it to keep the joint firm.
Conclusion
Before you throw your broken headphones out, please take a minute to try and fix them. Think about how much you’ve spent on new earphones and how much you can save with your new skill. You’re probably never going to repurchase new headphones!